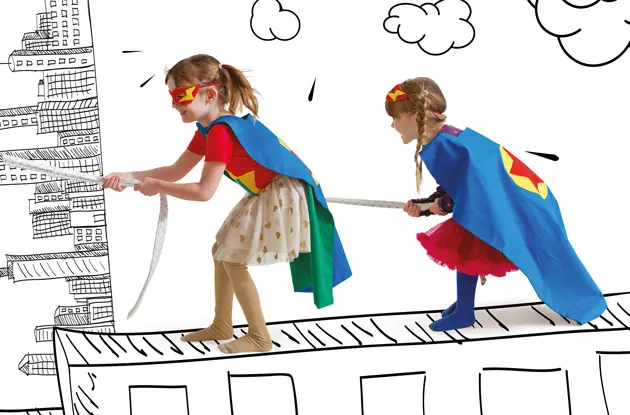
DIY for Kids: Make Your Own Superhero Cape
Bring your little superheroes imaginations to life with this DIY cape!
Get kid-friendly activities sent to you!
Get the Best Kid-Friendly Activities
Sent to You Weekly!
RELATED: Find More DIY Projects for Kids, Tweens, and Teens